Modifying & Upgrading Headphones

Headphones
are probably the most common tool in any audio professional’s kit, so I was pretty peeved when the 3.5mm jack on my 5-year-old DT770 Pros finally gave up and bent out of shape.
Rather than replace an otherwise solid pair of studio cans, I decided to have a stab at repairing them myself and also try out a few upgrades I’d wanted to do for ages. It was also a good excuse to blow the dust off my cheap soldering iron and get some real practice working with audio wiring.
The plan
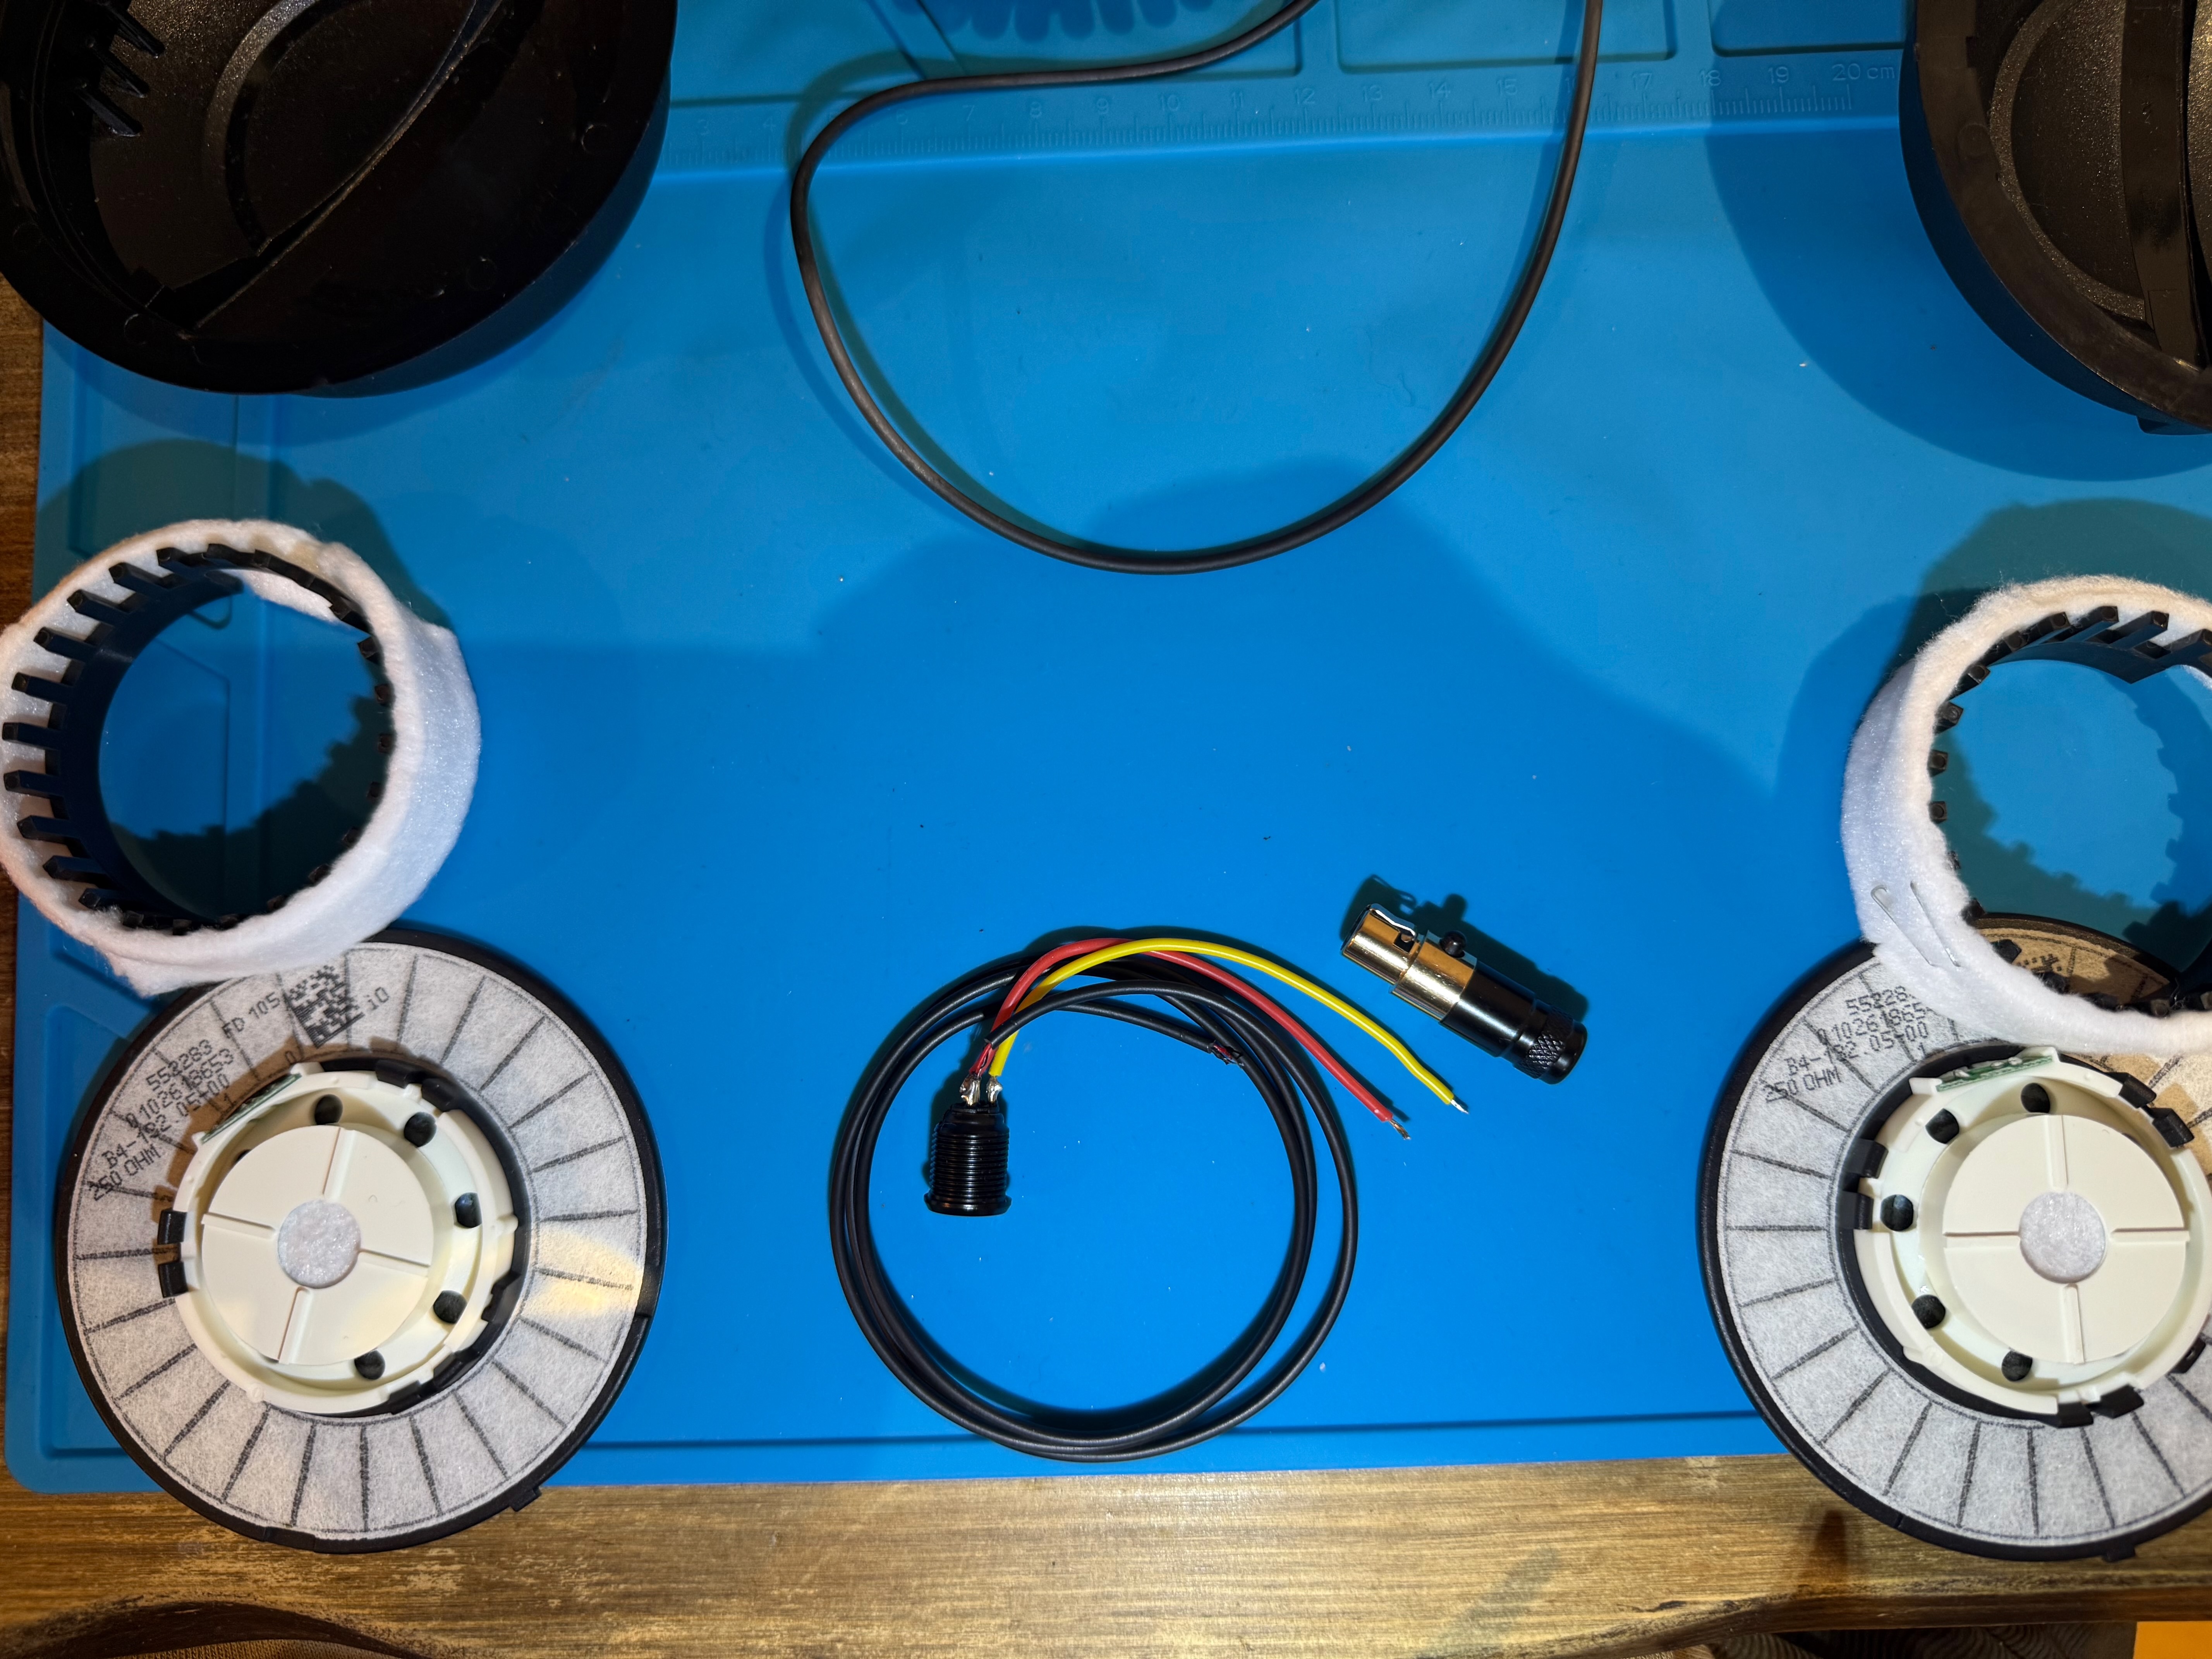
- fully dismantle the DT770s
- remove the original cable
- replace the dodgy 3.5mm connector
- add a 4-pin mini-XLR socket to make the cable detachable
- try driver/housing mods (mass loading + foam damping)
Easy, right?
Well as usual with these endevaours the disassembly was at least. The first real job was installing the 4-pin mini-XLR socket which also has the added benefit of converting the headphones to balanced.
Installing the mini-XLR socket
This part was tricky. To fit the connector, I had to enlarge the original cable hole so that the new socket with fit perfectly into place, while avoiding any of the other components. It was actually a lot of work getting through such a small amount of plastic neatly, but I eventually got a snug fit and secured the socket with hot glue.

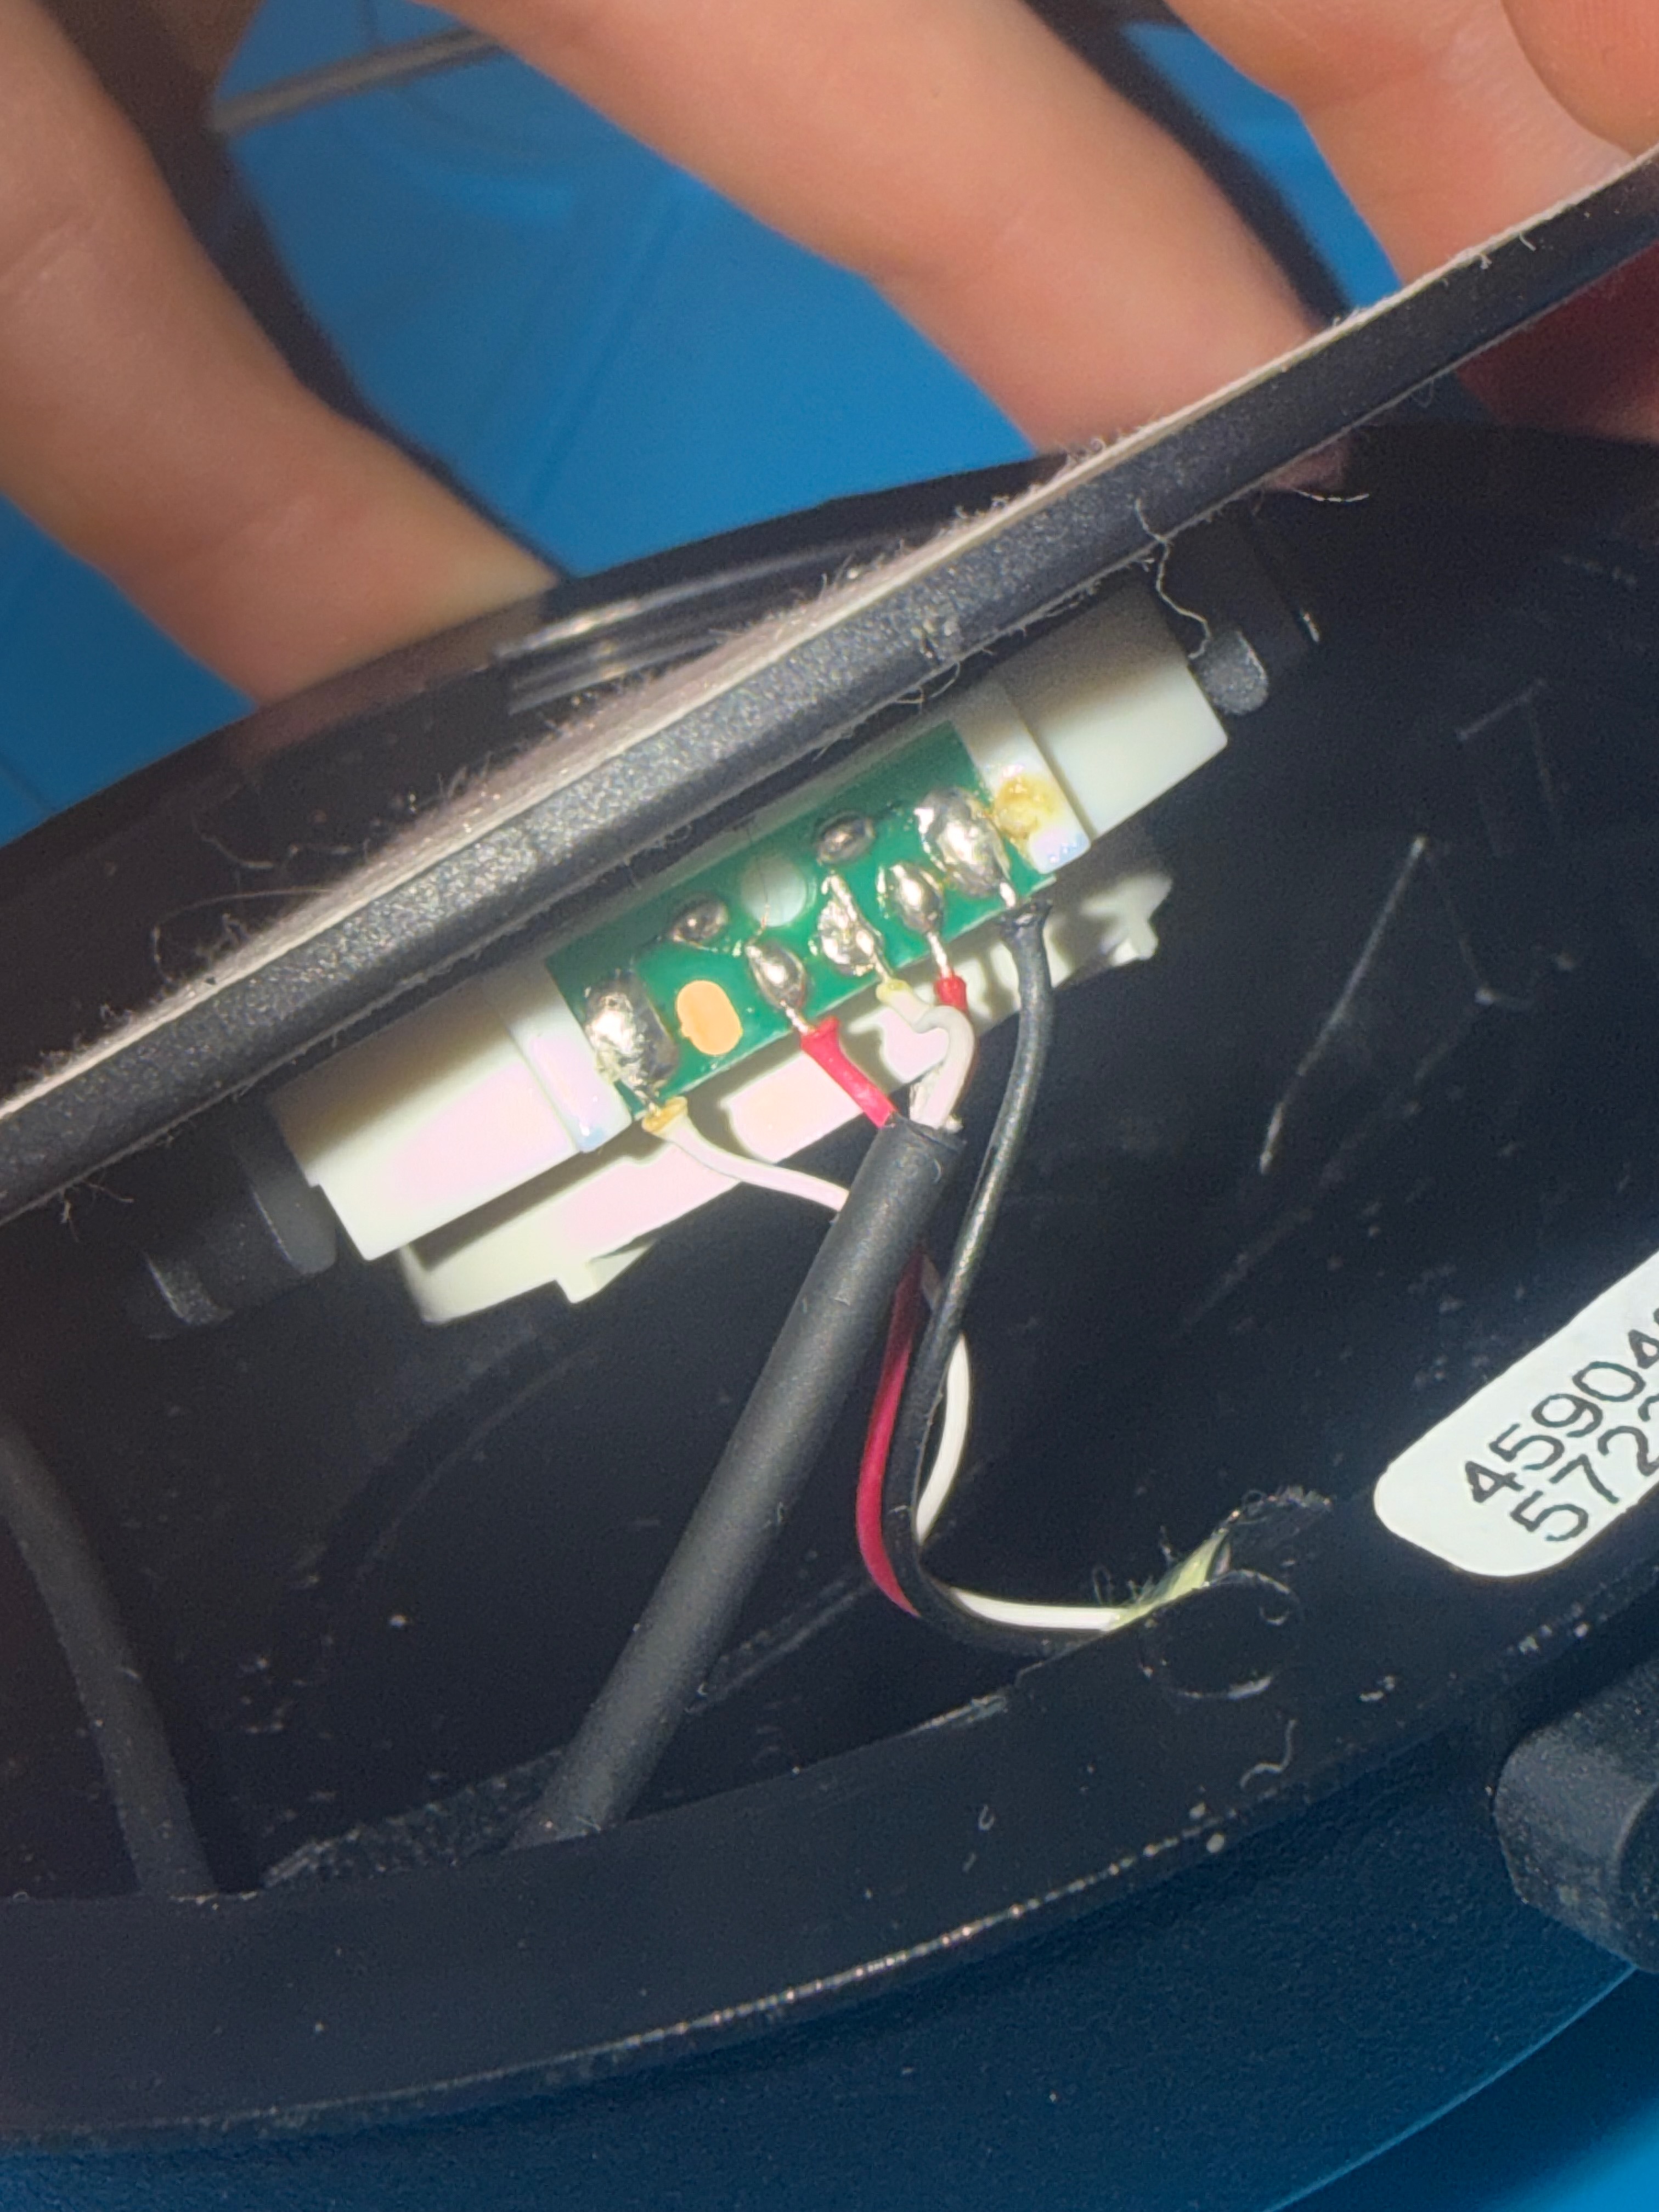
Rewiring the drivers
Next came soldering the connector to the drivers. As the new mini-xlr was 4 pin - each driver would now be getting it's own seperate postive and negative signal, making the headphones balanced. I don’t need balanced for my current setup, but it’s nice to have the option — and the detachable cable alone makes this worthwhile.
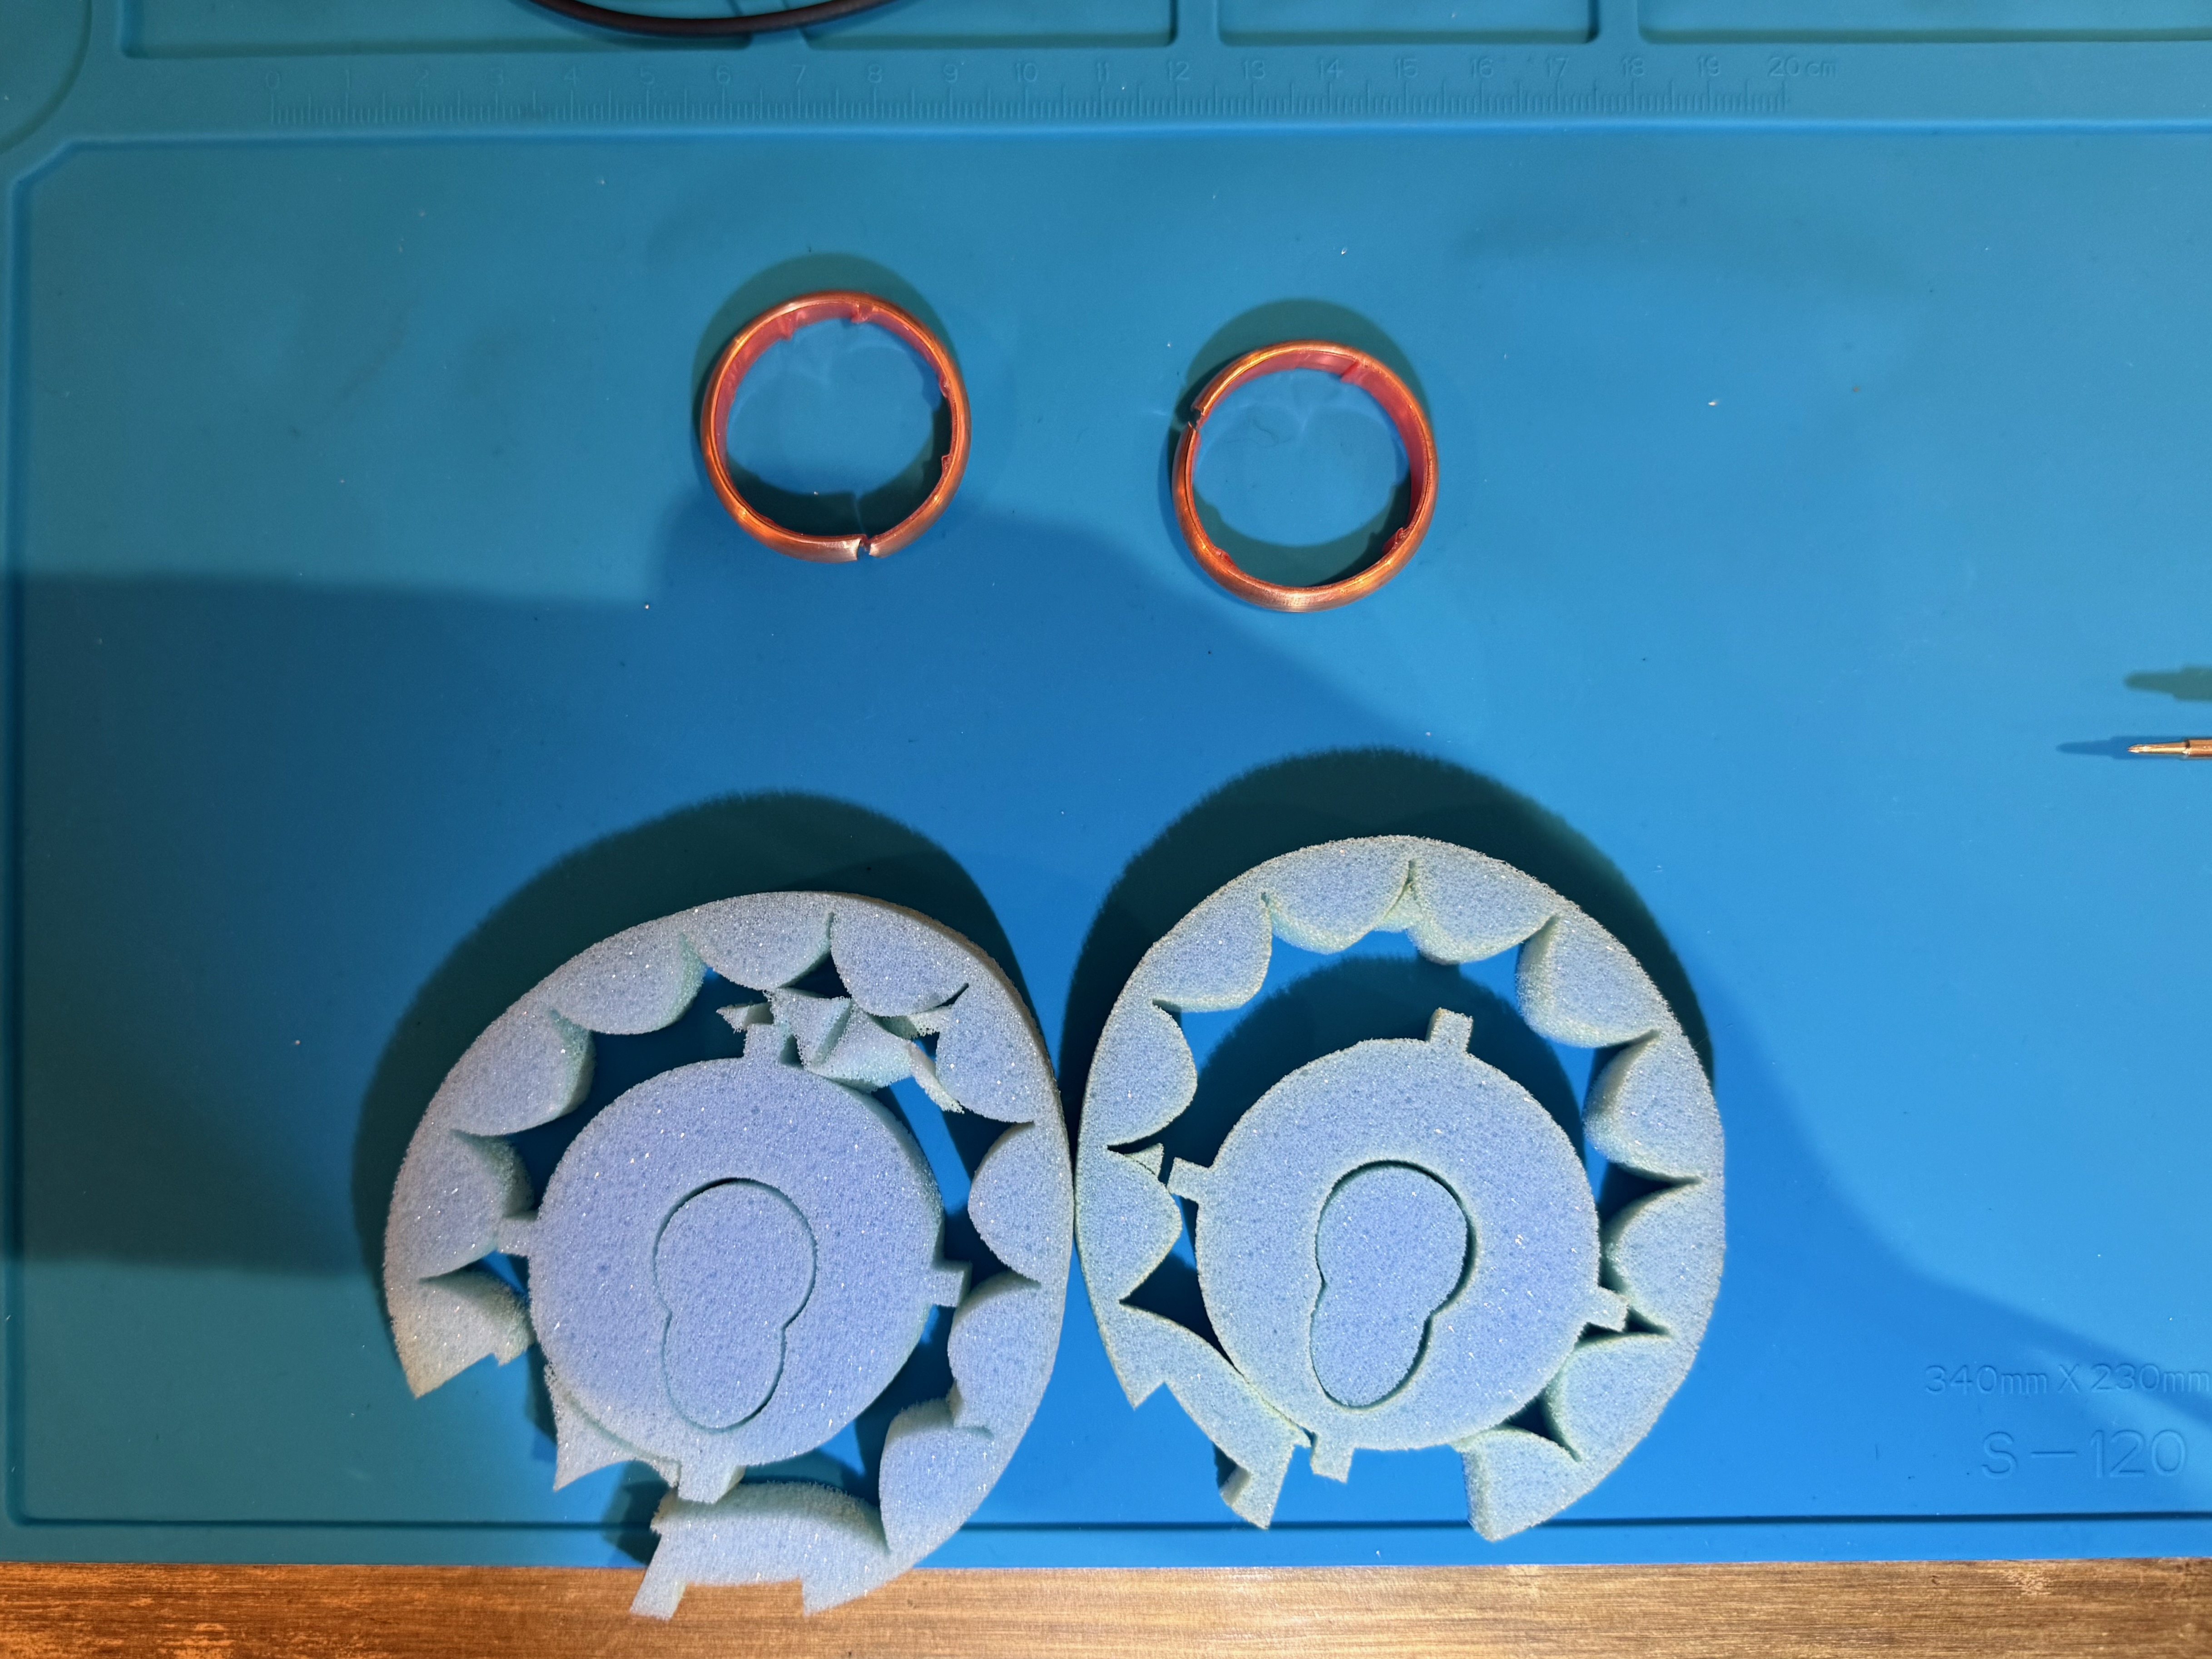
The mods: mass + damping
With the headphones disassembled and in pieces, it was as good a time as ever to add some modifications. I added copper rings around the driver and foam damping inside the cup. The idea is actually quite simple: extra mass on the driver allows it to move more efficiently with less vibrations and damping helps tame internal reflections/resonance in the housing. In theory this should lead to improved bass response (especially sub-bass) but I was skeptical as to how much of a diffence a seemingly simple upgrade would make.
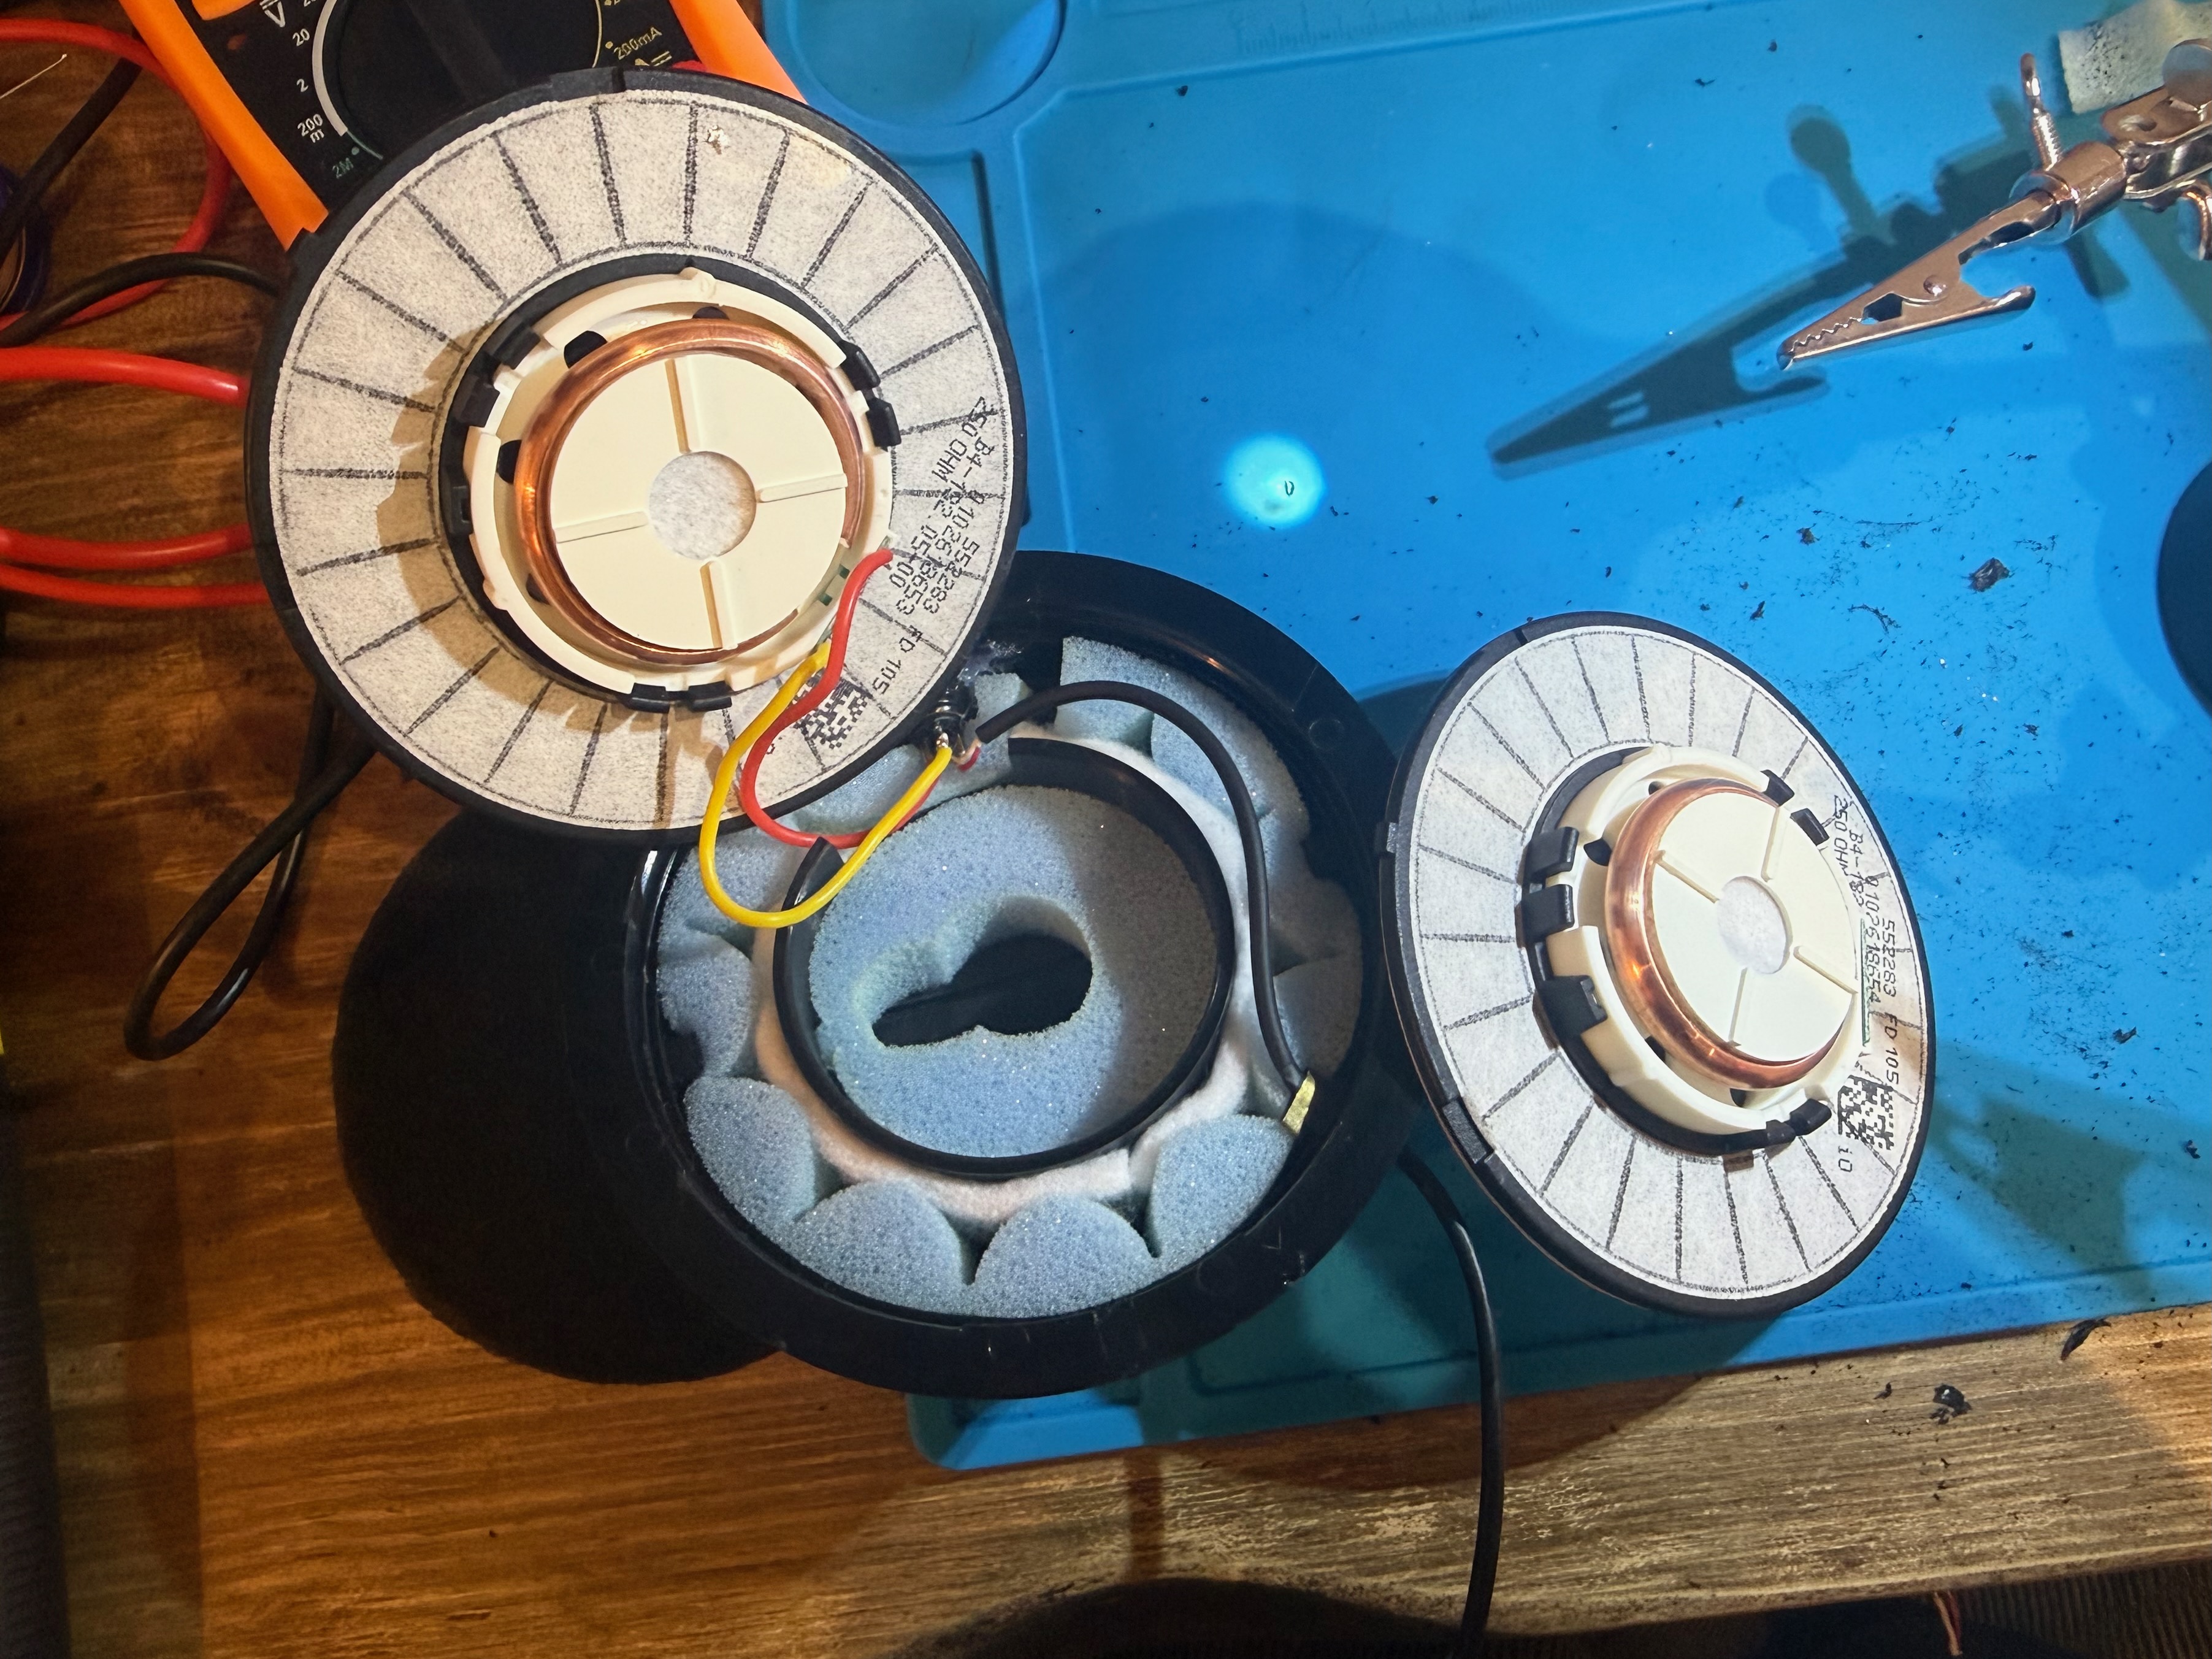
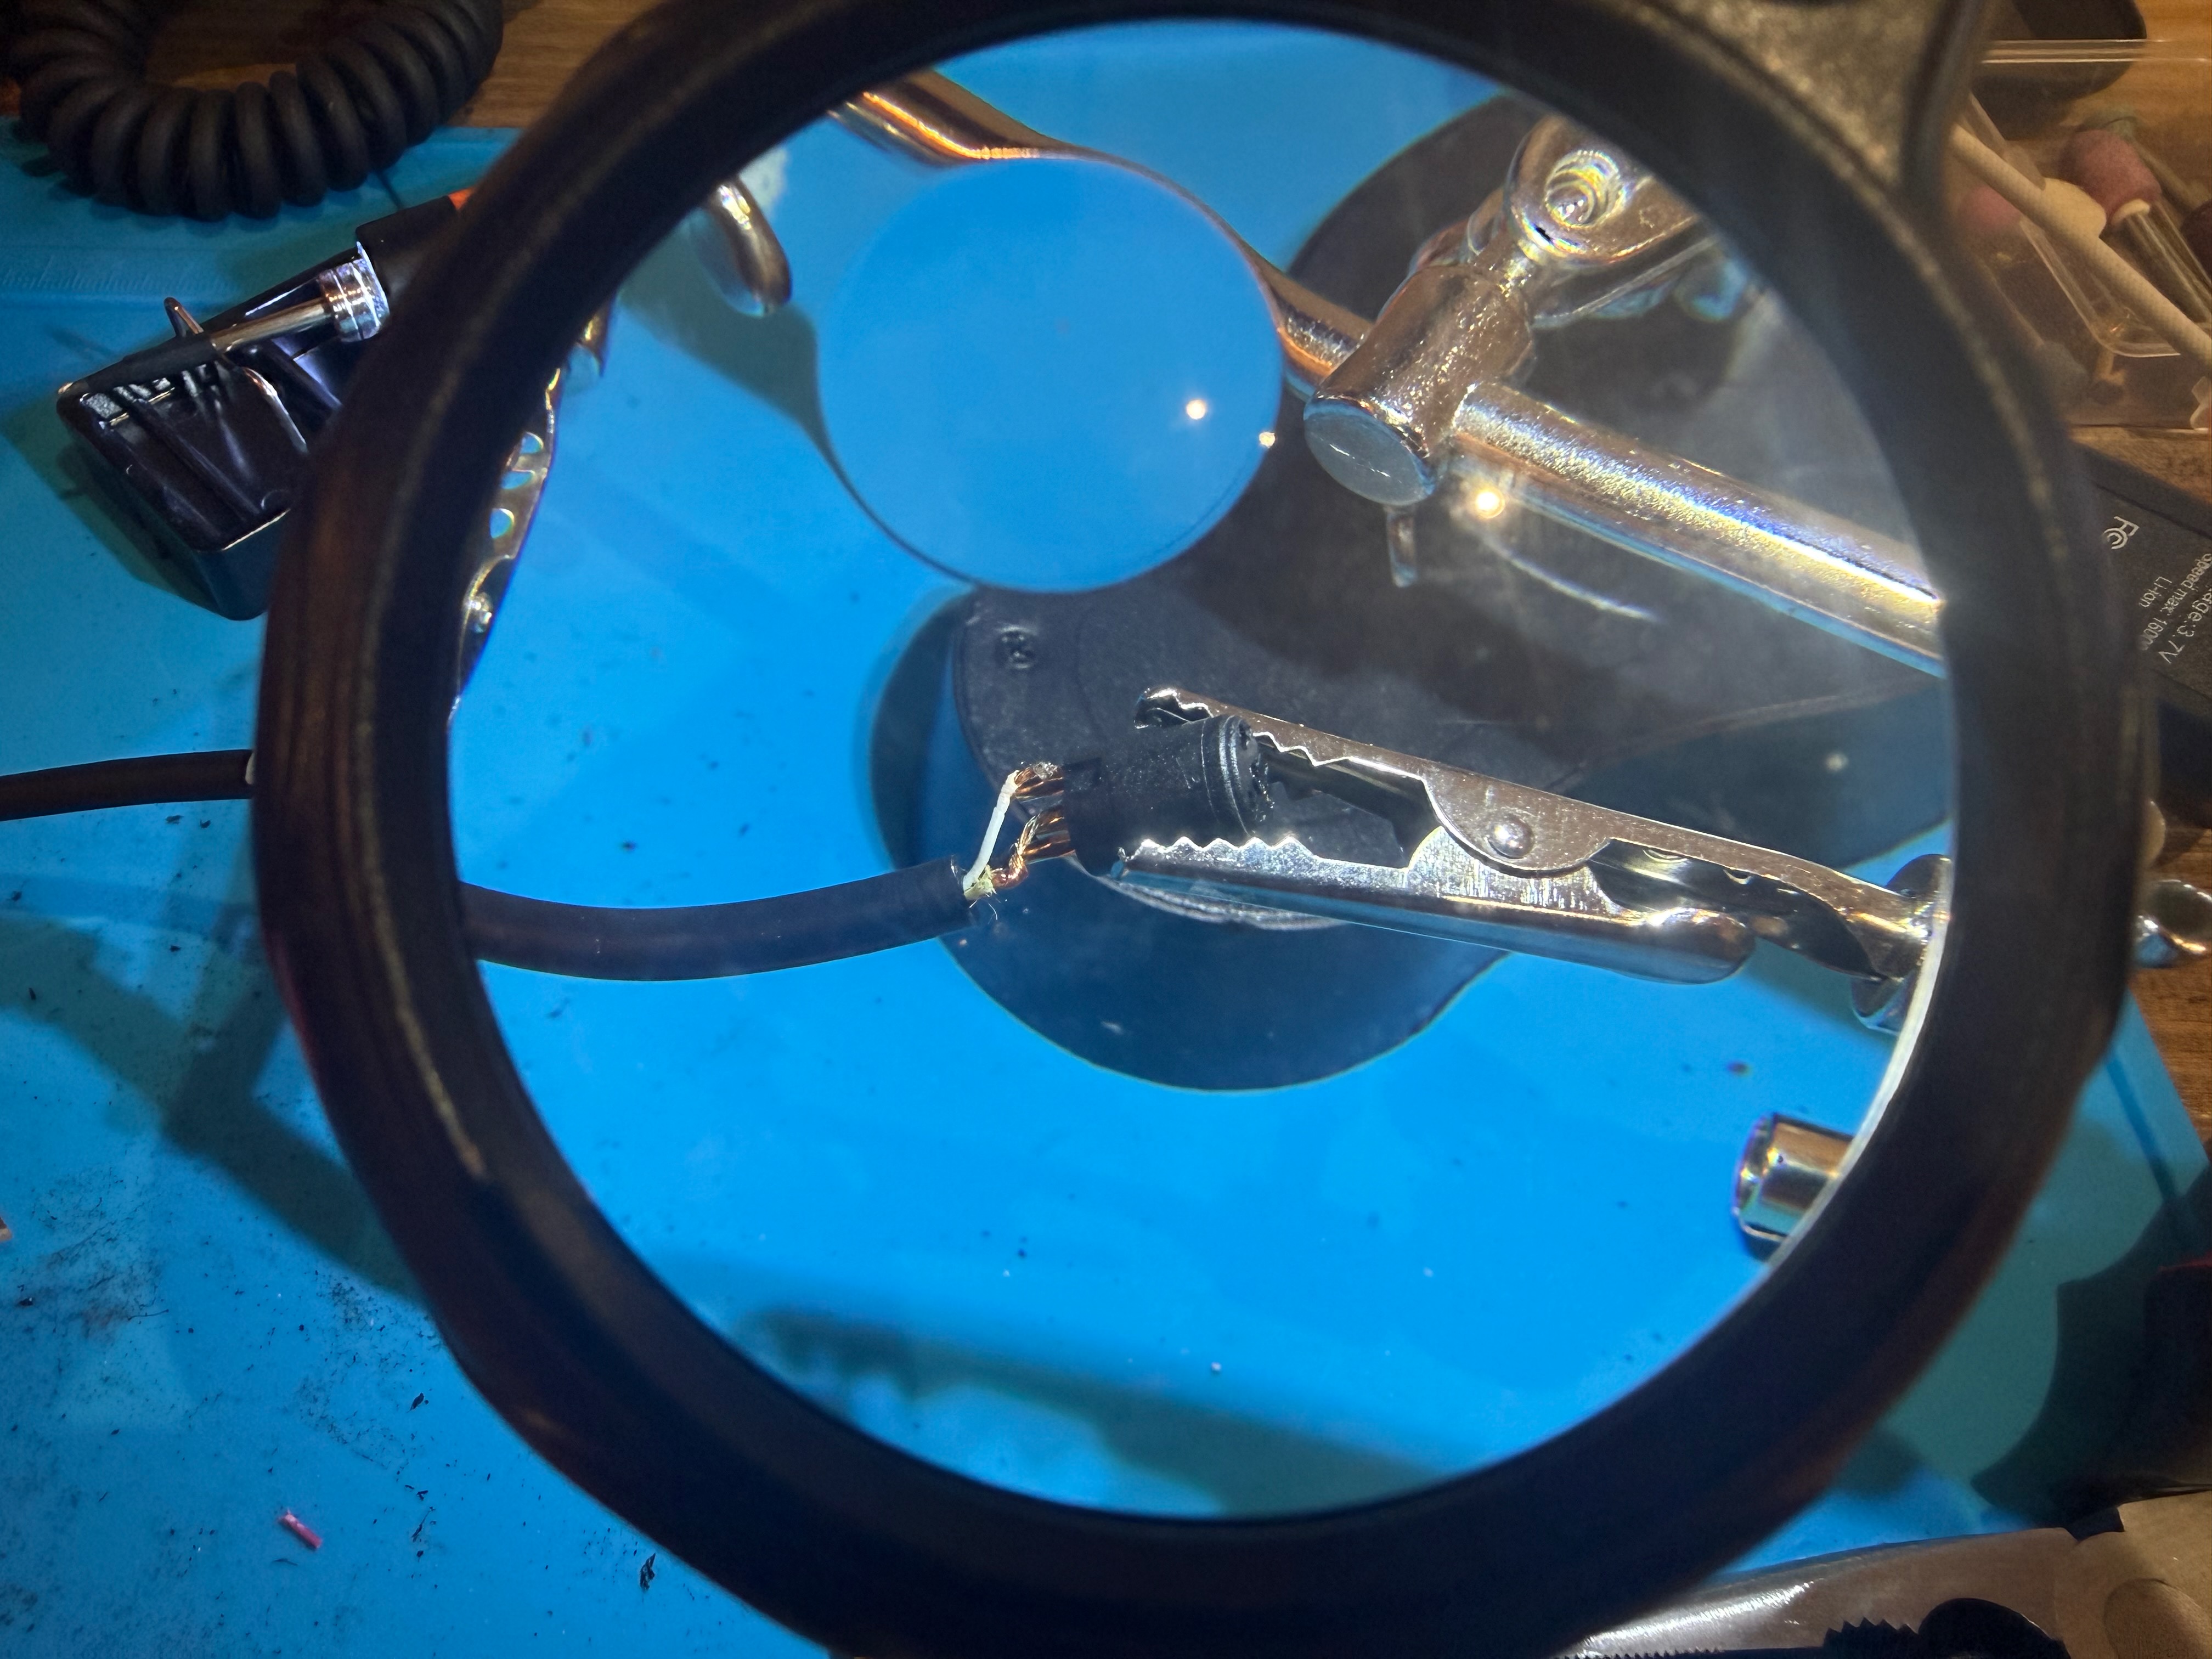
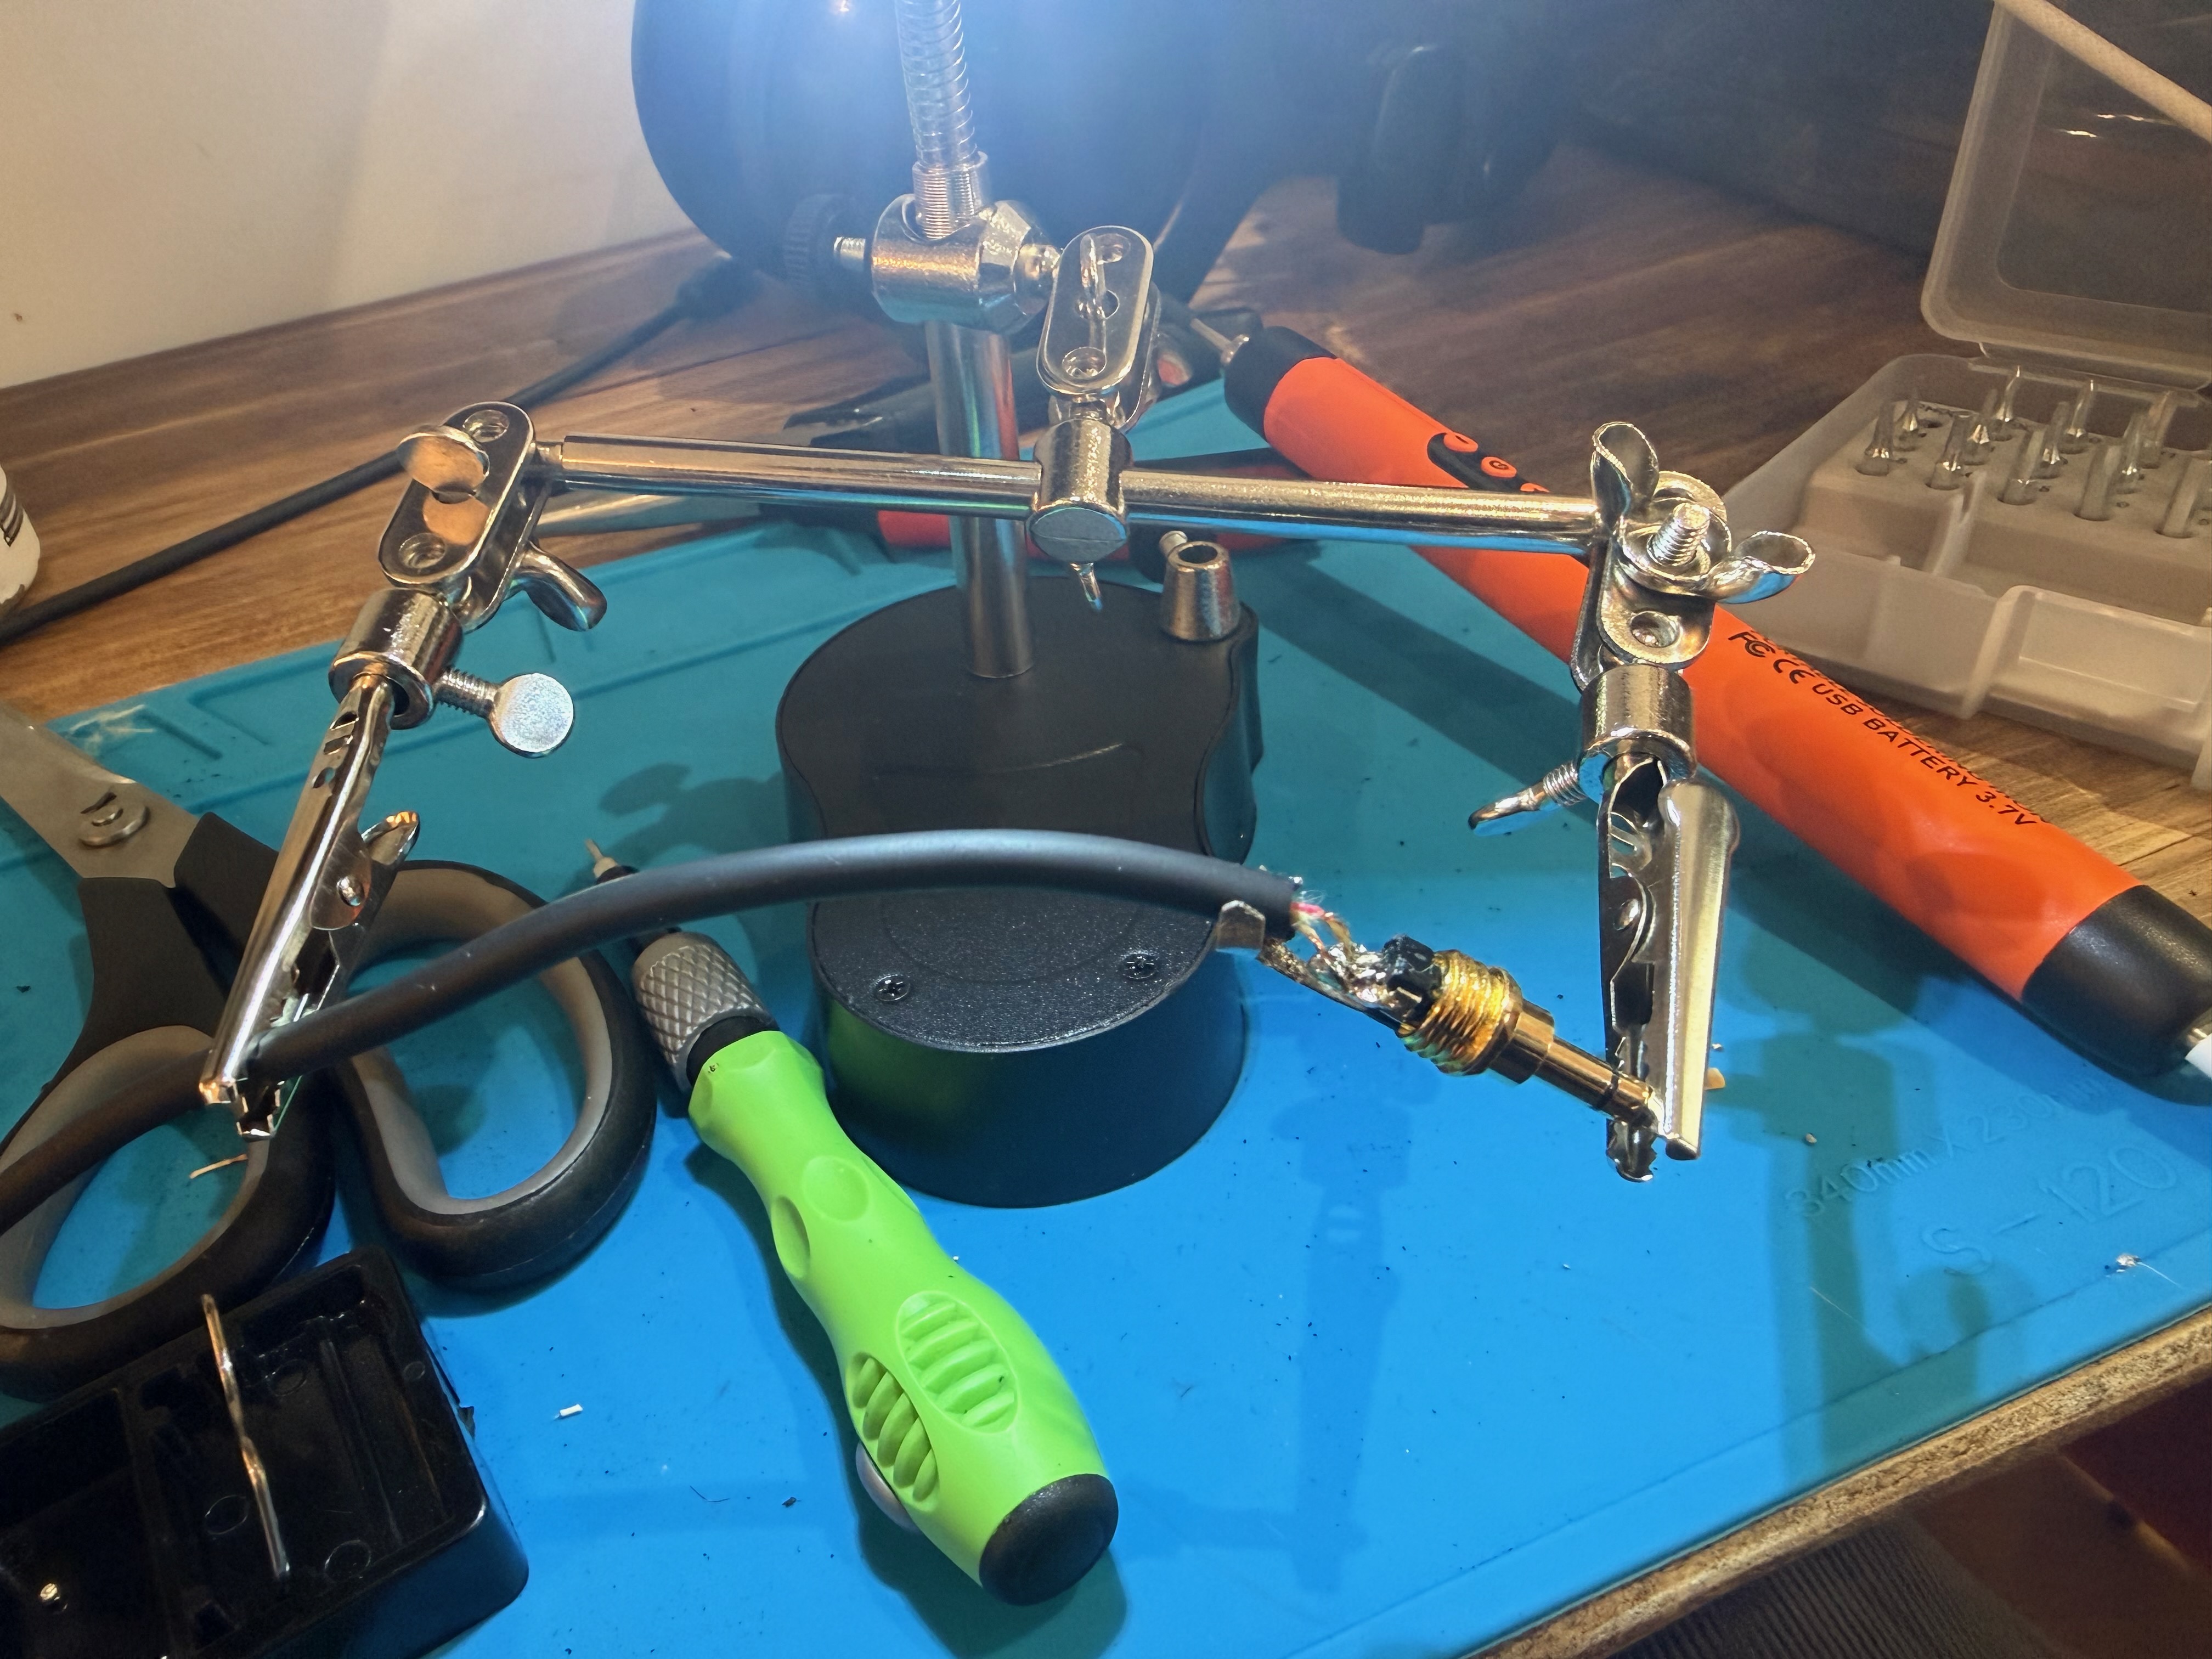
Reassembly was thankfully painless — everything fit back together neatly. In the end the most difficult part ended up being the cable work. Tiny conductors, tiny pins, and very little room for error. Even with a magnifying glass and helping hands, it took a few attempts.
The multimeter saved me here - I used it constantly to check continuity and catch mistakes early. Since my current gear is unbalanced, I tied the two ground pins together so the cable works fine as a standard unbalanced connection.
Result
The big win is that the DT770s are now future-proofed so if I wreck a cable again, I can just swap it out. And despite being skeptical about the audible impact of the mods, they’re sounding great.
More than anything this project gave me proper hands-on experience soldering audio connections. It wasfrustrating at times, but it's motivated me to start looking into more projects.
If you made it this far, cheers for reading! Here’s an absolute heater from Make a Dance Records (sounding very nice on the refreshed DT770s):